Web Publishing (Cloud)
Draftbit makes it easy to deploy your web app to a test draftbit.dev or custom domain with a single click! When deploying your web app through Draftbit, it is hosted using Cloudflare’s serverless Workers which includes a high-performance global availability network, automatic load balancing, autoscaling, and more. An SSL certificate is automatically generated for your domain to ensure secure communication between your users and your web app.
App Configuration
Section titled “App Configuration”Before you start the publishing process, make sure your app’s configuration properties are up to date in the App Configuration view. At a minimum, we recommend you review and update:
- App Name: The name shown on the device home screen after install
- Slug: A URL-friendly identifier used in publishing/build processes
- URL Scheme: URL scheme for deep linking into your app (e.g., myapp:// would use ‘myapp’).
- Description: A short description of your app
- App Icon: Your app’s icon (we recommend uploading a 1024×1024 PNG)
For more details (and the full list of available properties), see App Configuration.
Publish Your Web App
Section titled “Publish Your Web App”During development, you can publish your web app to a test draftbit.dev domain for free with zero configuration required to share with others for testing and feedback.
When you’re ready to publish your web app to the world, you can set up a custom domain and publish updates with one click!
To publish your app to the web, use the following steps:
-
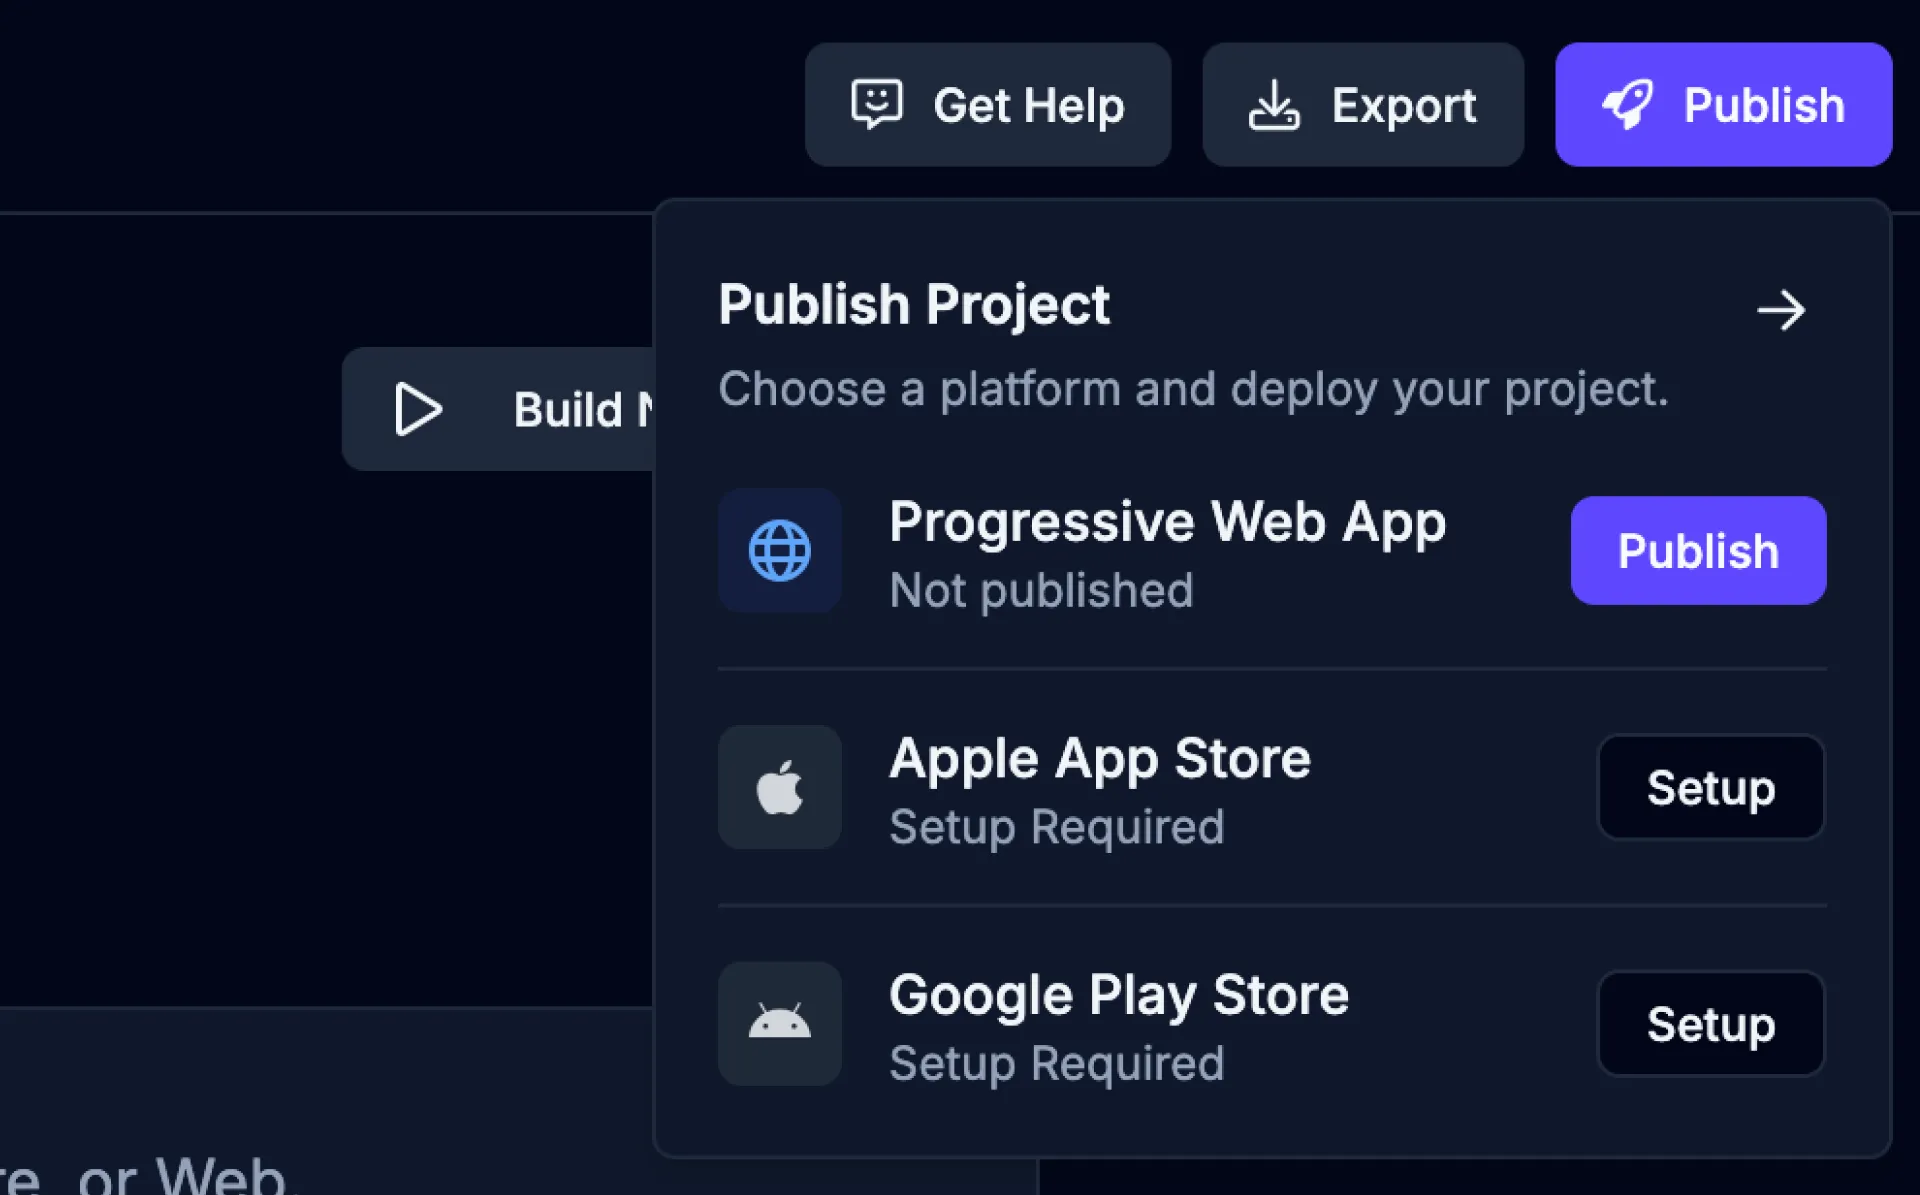
Open the Publish dropdown
Click the
 button from the top-right of the Builder to open the Publish dropdown.
 -
Choose Progressive Web App
Click the
 button for the Progressive Web App option.
 -
Start a new publish
Enter a version name, number, and environment for your publish and then click the
 to start the publishing process.
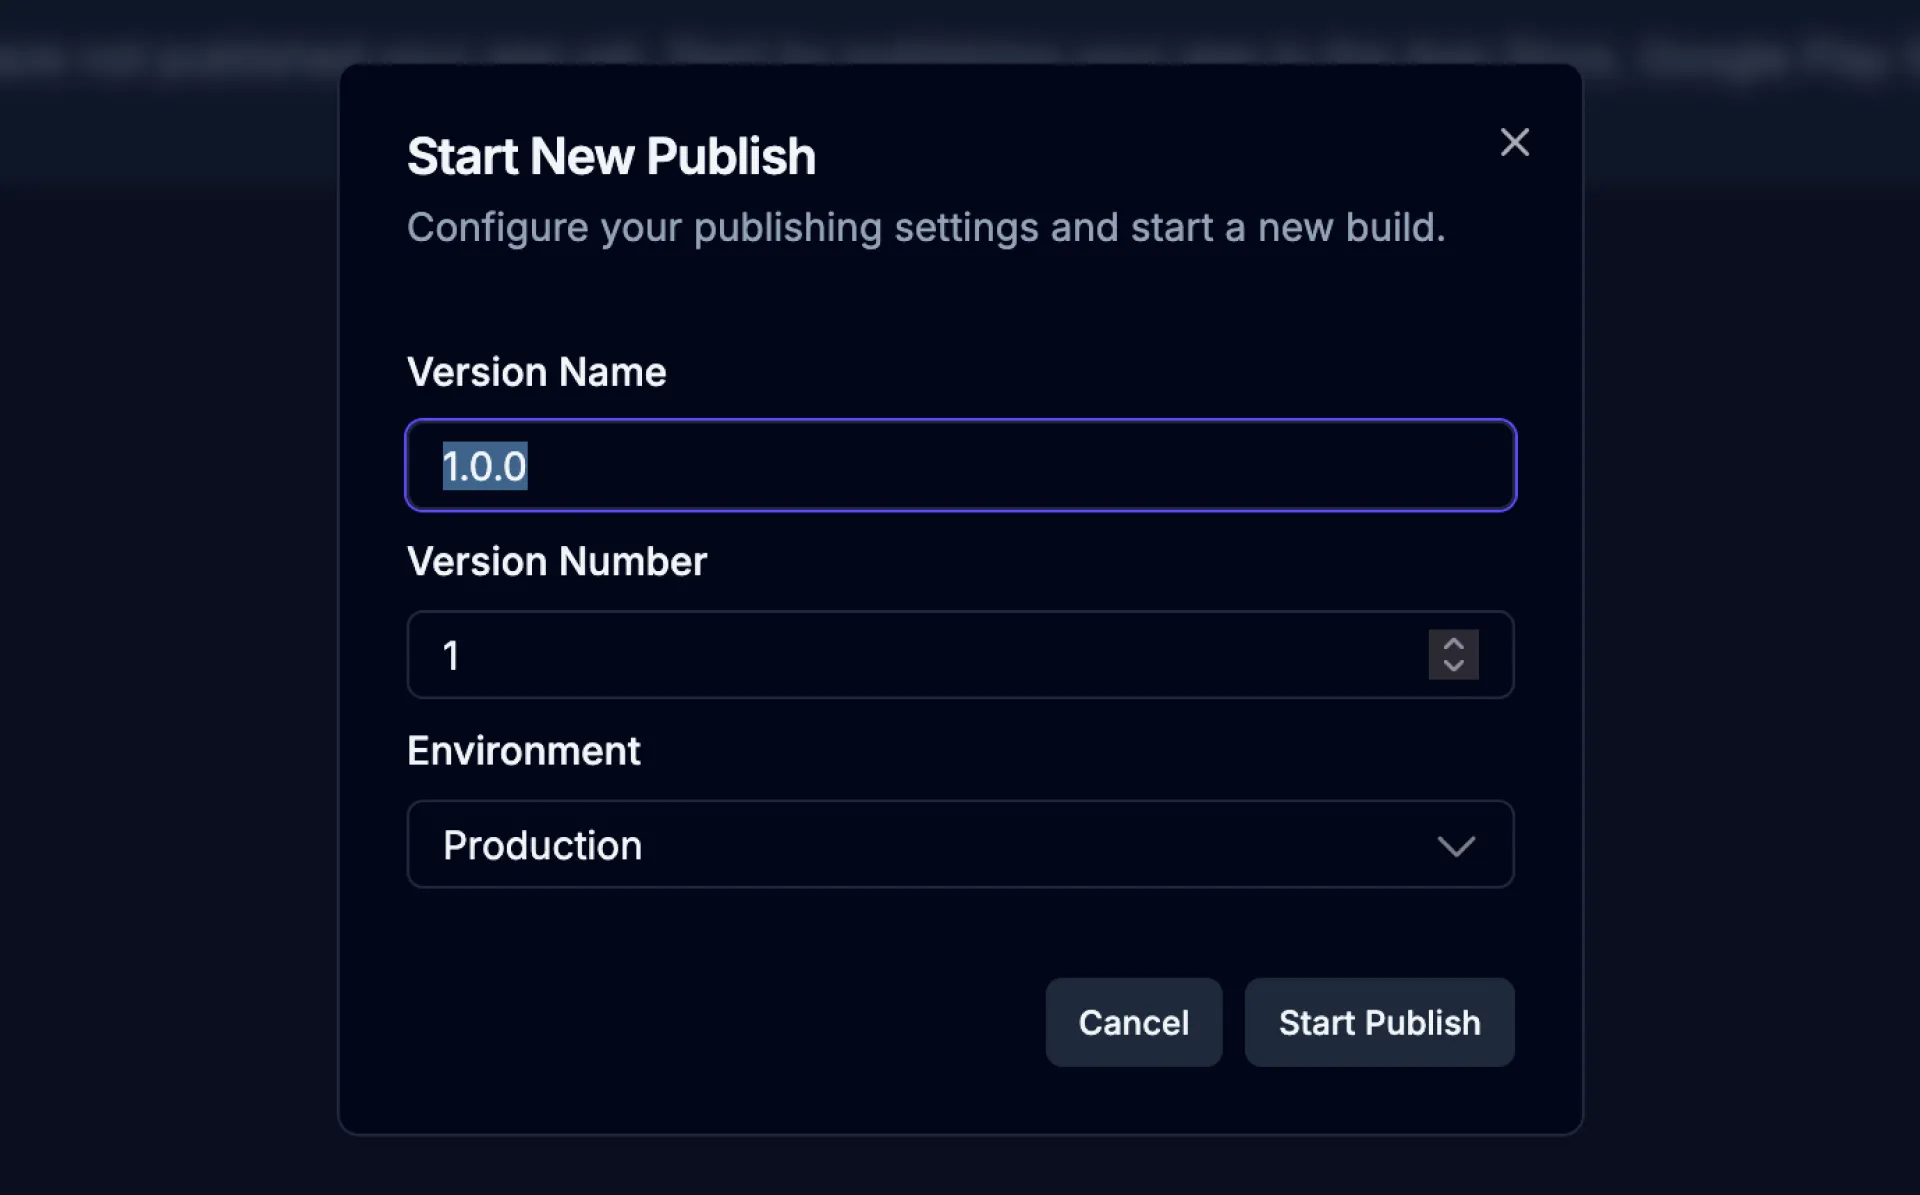
| Name | Description |
|---|---|
| Version Name | A name for this version of your web app (e.g., “Initial Release”, “Major Update”, “v3”). |
| Version Number | The version number assigned to this publish (e.g., “1”, “2.0”, “3.1”). |
| Environment | The environment to publish your web app to. Options: Staging or Production. |
Preview URL
Section titled “Preview URL”By default, your app will be published to a test domain and the preview URL will become available once the publish is complete. The URL looks something like this:
https://<random-characters>.draftbit.dev
You can share this link with others to preview your app on the web as a Progressive Web App.
If you’ve configured a custom domain, the preview URL will be the same as the custom domain you configured.
Set up a Custom Domain
Section titled “Set up a Custom Domain”When you’re ready to publish your web app to the world, you can connect your custom domain and publish updates with one click!
Prerequisites
Section titled “Prerequisites”Custom domain
You’ll need to have a registered domain name to publish your web app to. You can use a top-level domain name like myapp.com, myapp.org, myapp.io, etc. or a subdomain like pwa.myapp.com. Domain names can be purchased from a domain name registrar like Namecheap, Google Domains, or Cloudflare.
Access to DNS records
DNS records are used to tell your domain name where to find your web app. You’ll need the ability to add DNS records to your domain in order to connect your custom domain - specifically, CNAME/ALIAS and TXT records. This is typically done through your domain registrar’s control panel. Refer to your domain registrar’s documentation for instructions on how to add DNS records.
Connecting
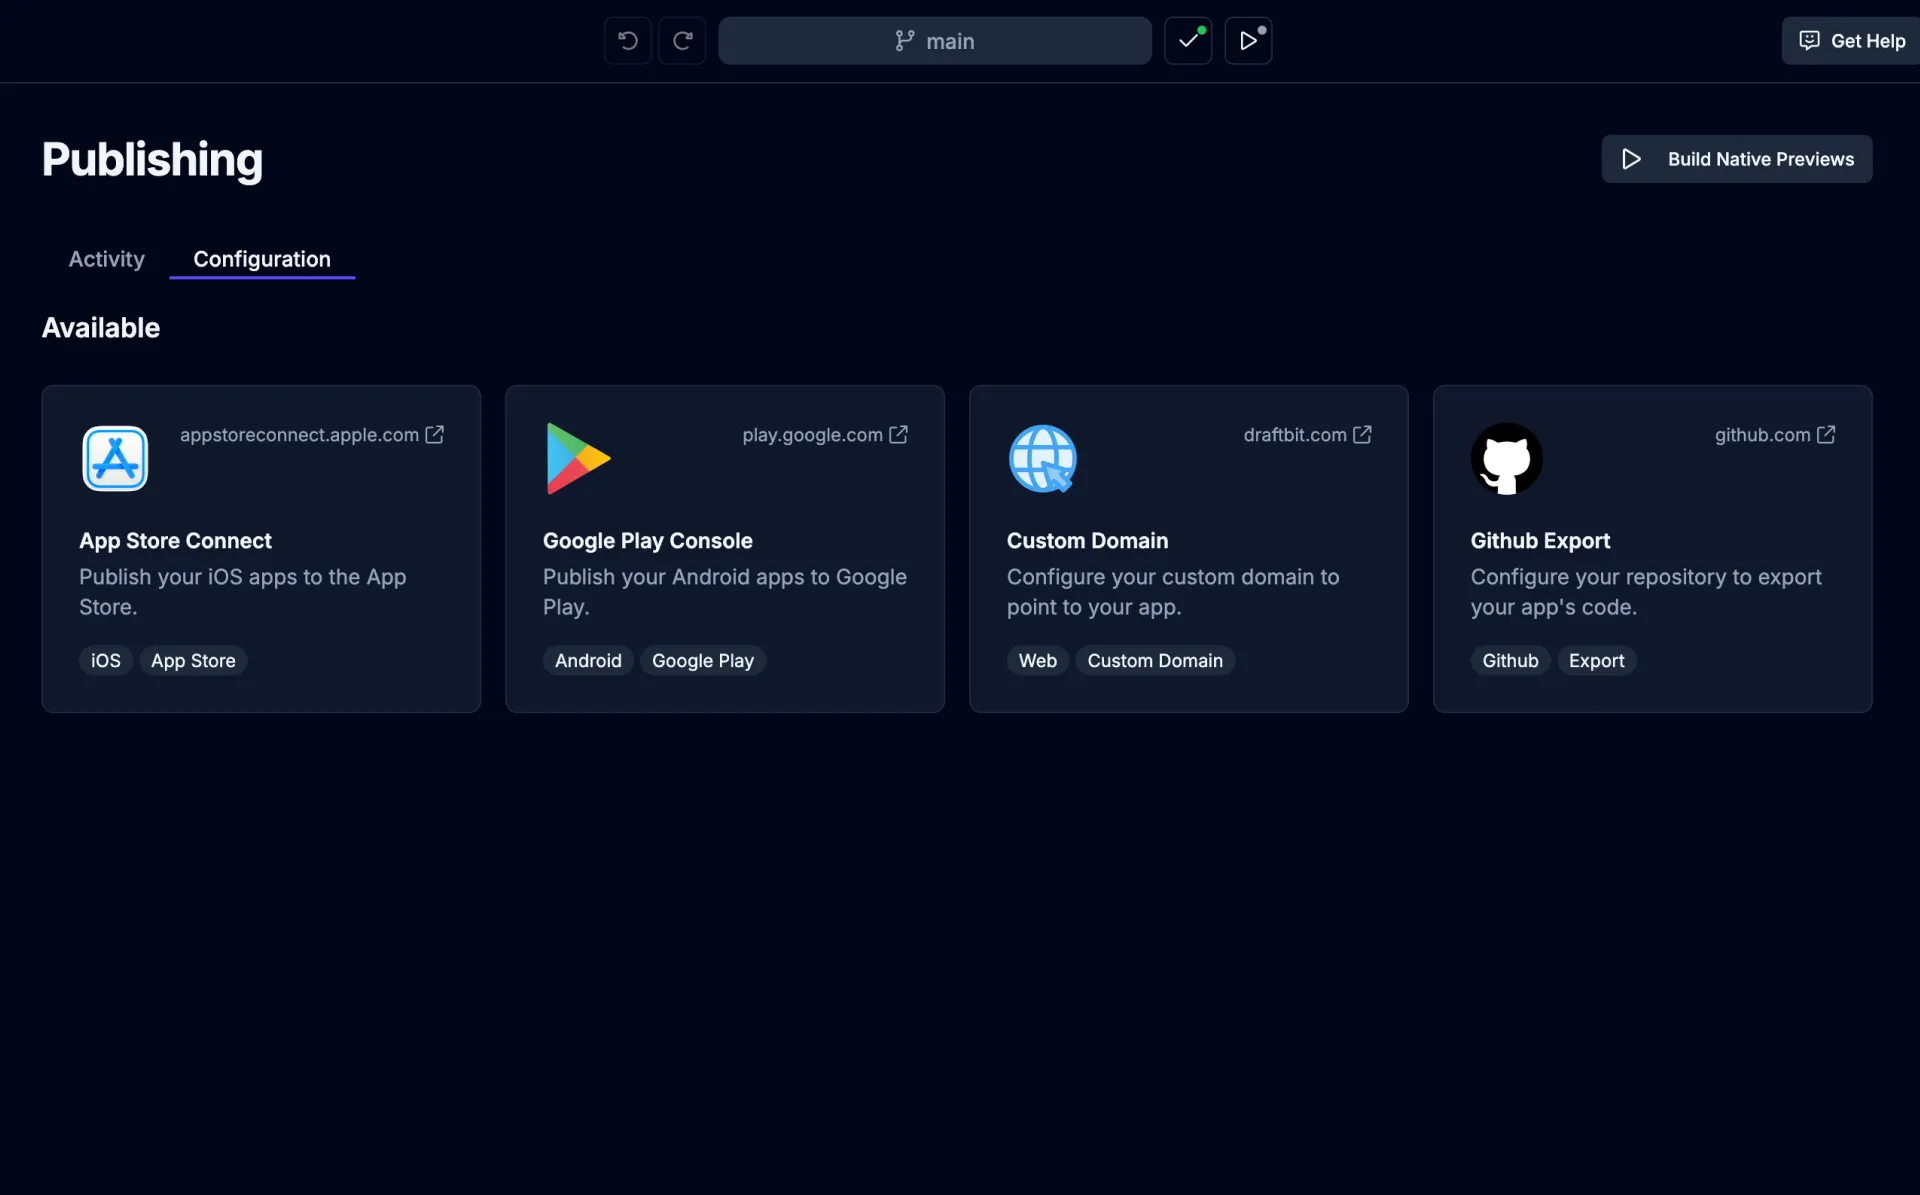
Section titled “Connecting”To get started publishing your web app to a custom domain, head over to the Publishing page in the Builder, switch to the Configuration tab, and click the Custom Domain option.
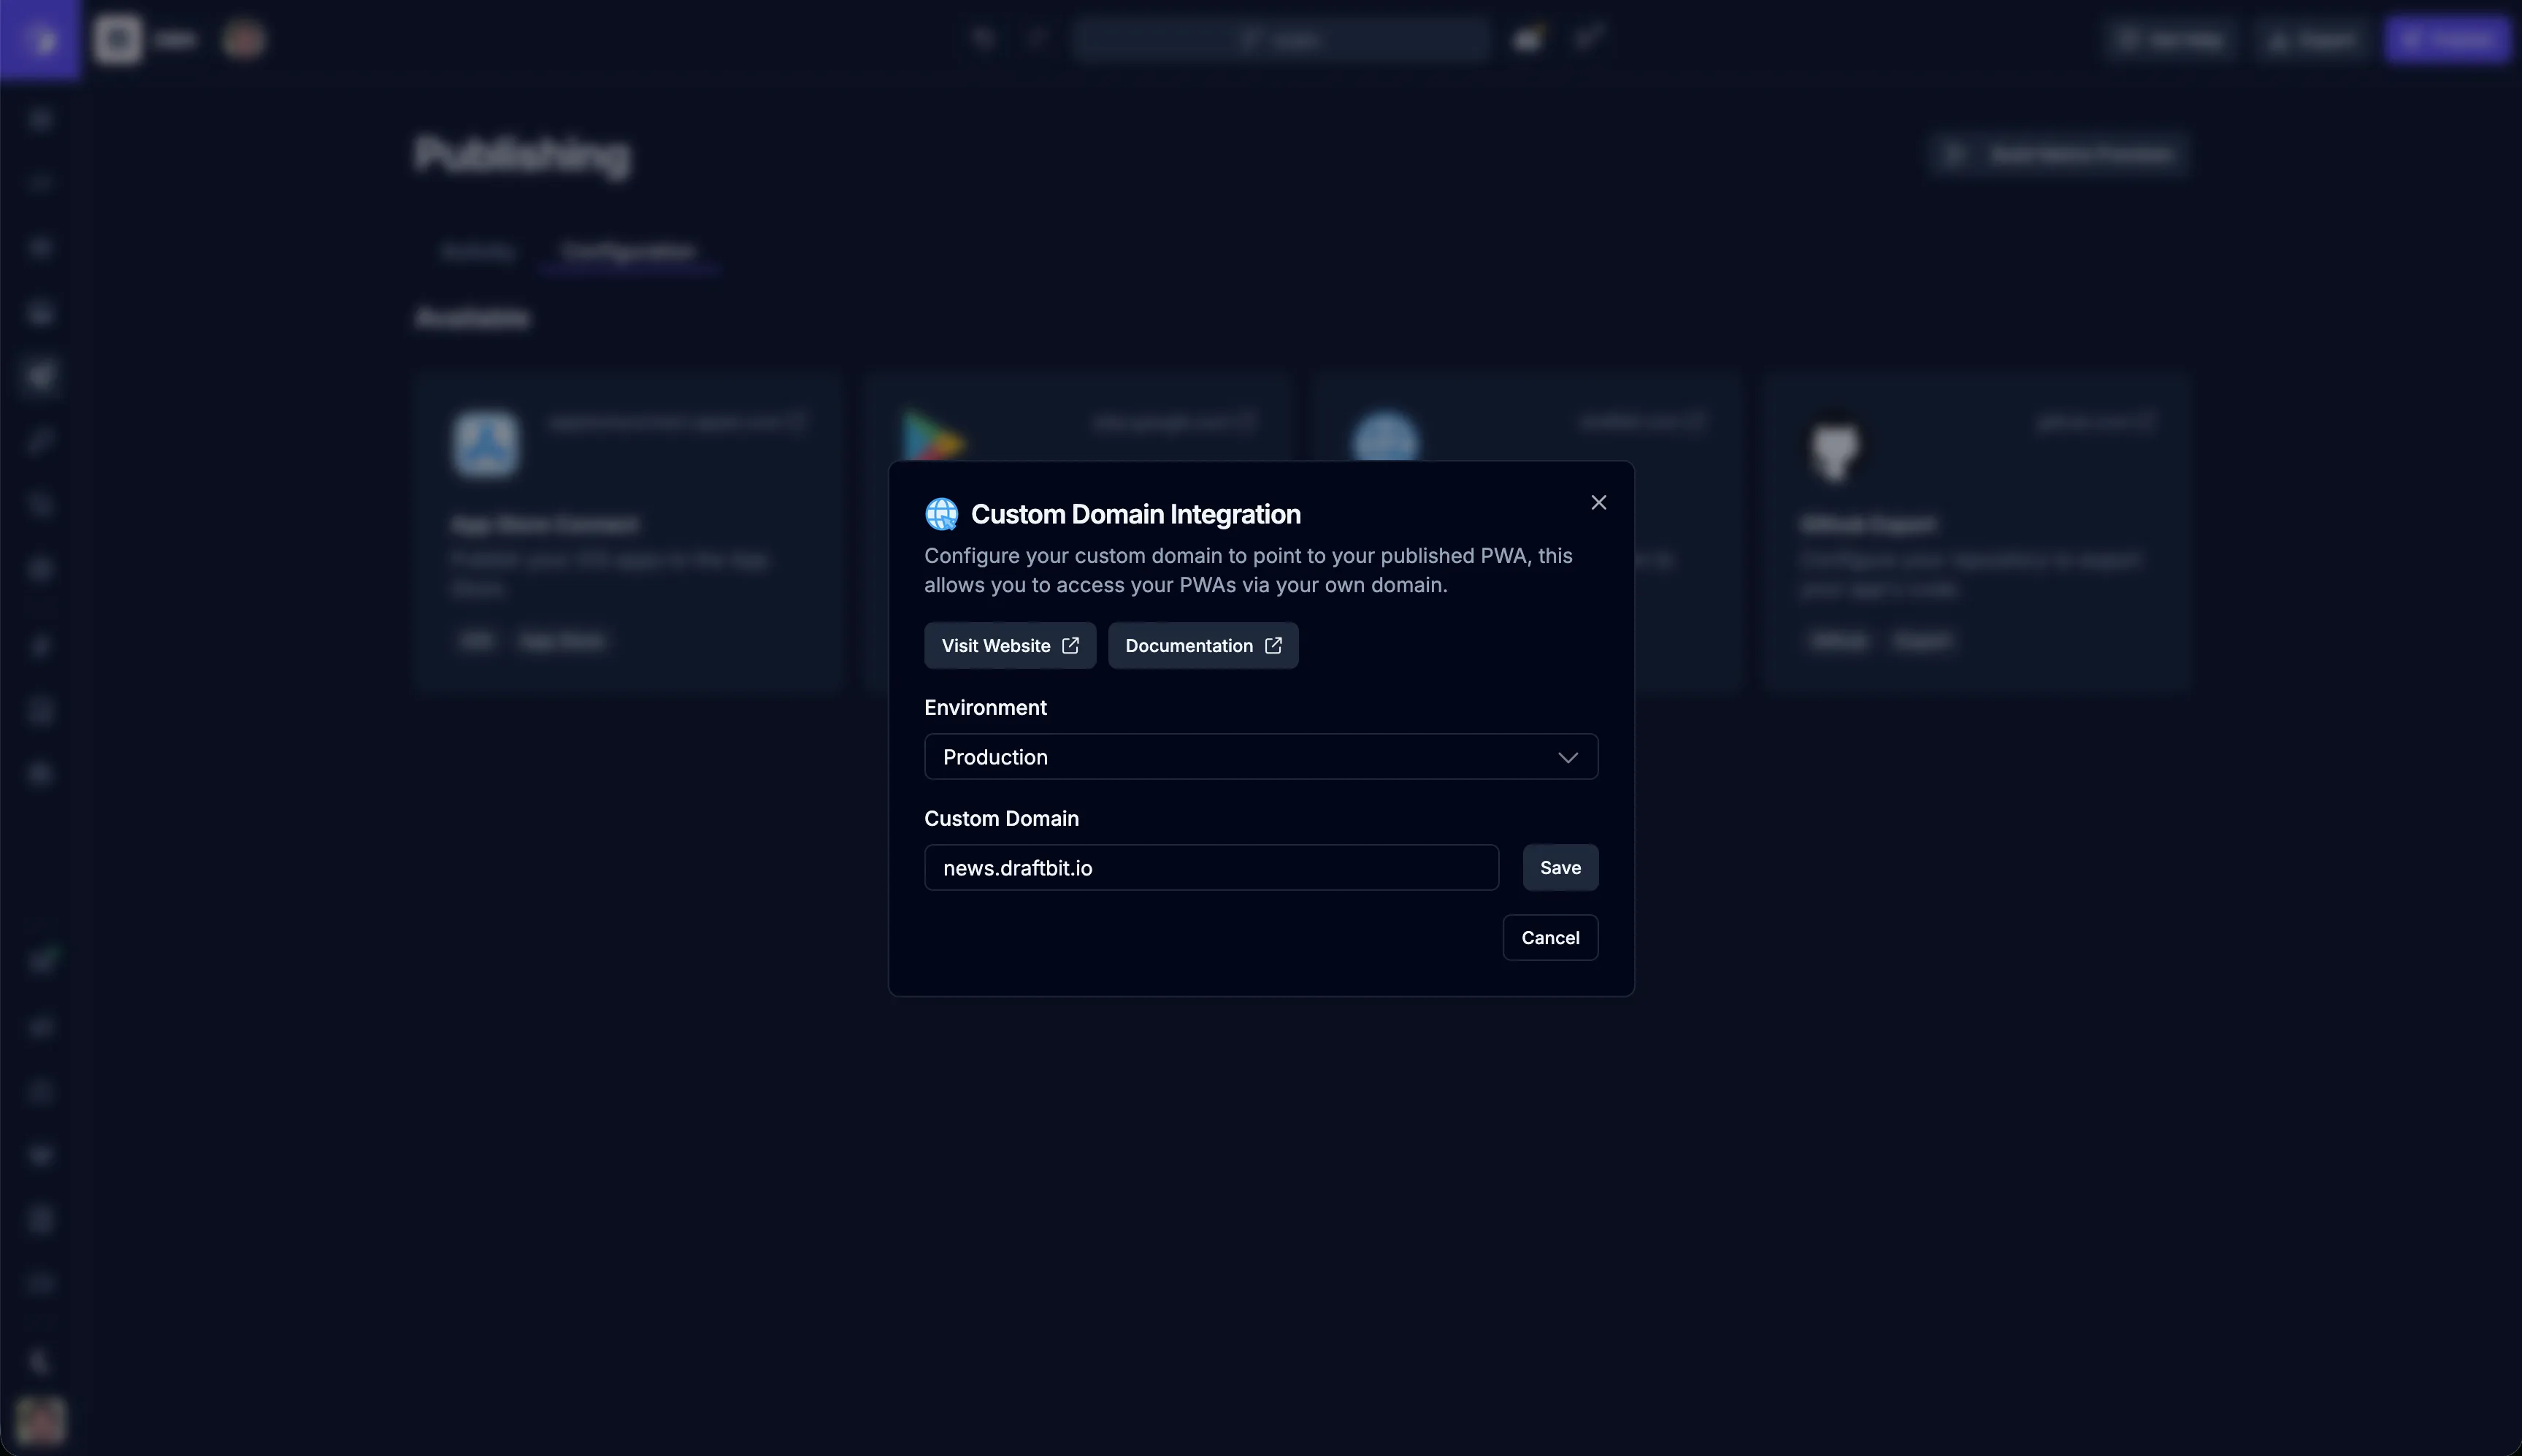
Environment and Domain
Section titled “Environment and Domain”In this first step, you’ll need to configure the environment and domain you want to publish your web app to.
| Name | Description |
|---|---|
| Environment | The environment to publish your web app to. Available options are Staging and Production. |
| Domain | The domain to publish your web app to. This should be a domain you own and have access to. |
Once you’ve configured the environment and domain, click the Save button to continue.
DNS Records
Section titled “DNS Records”In this step, you’ll need to add the DNS records to your domain. This is typically done through your domain registrar’s control panel. Refer to your domain registrar’s documentation for instructions on how to add DNS records.
You’ll create two DNS records (CNAME/ALIAS and TXT) and each DNS record will have a name and value that must exactly match the unique values provided in the publishing configuration UI.
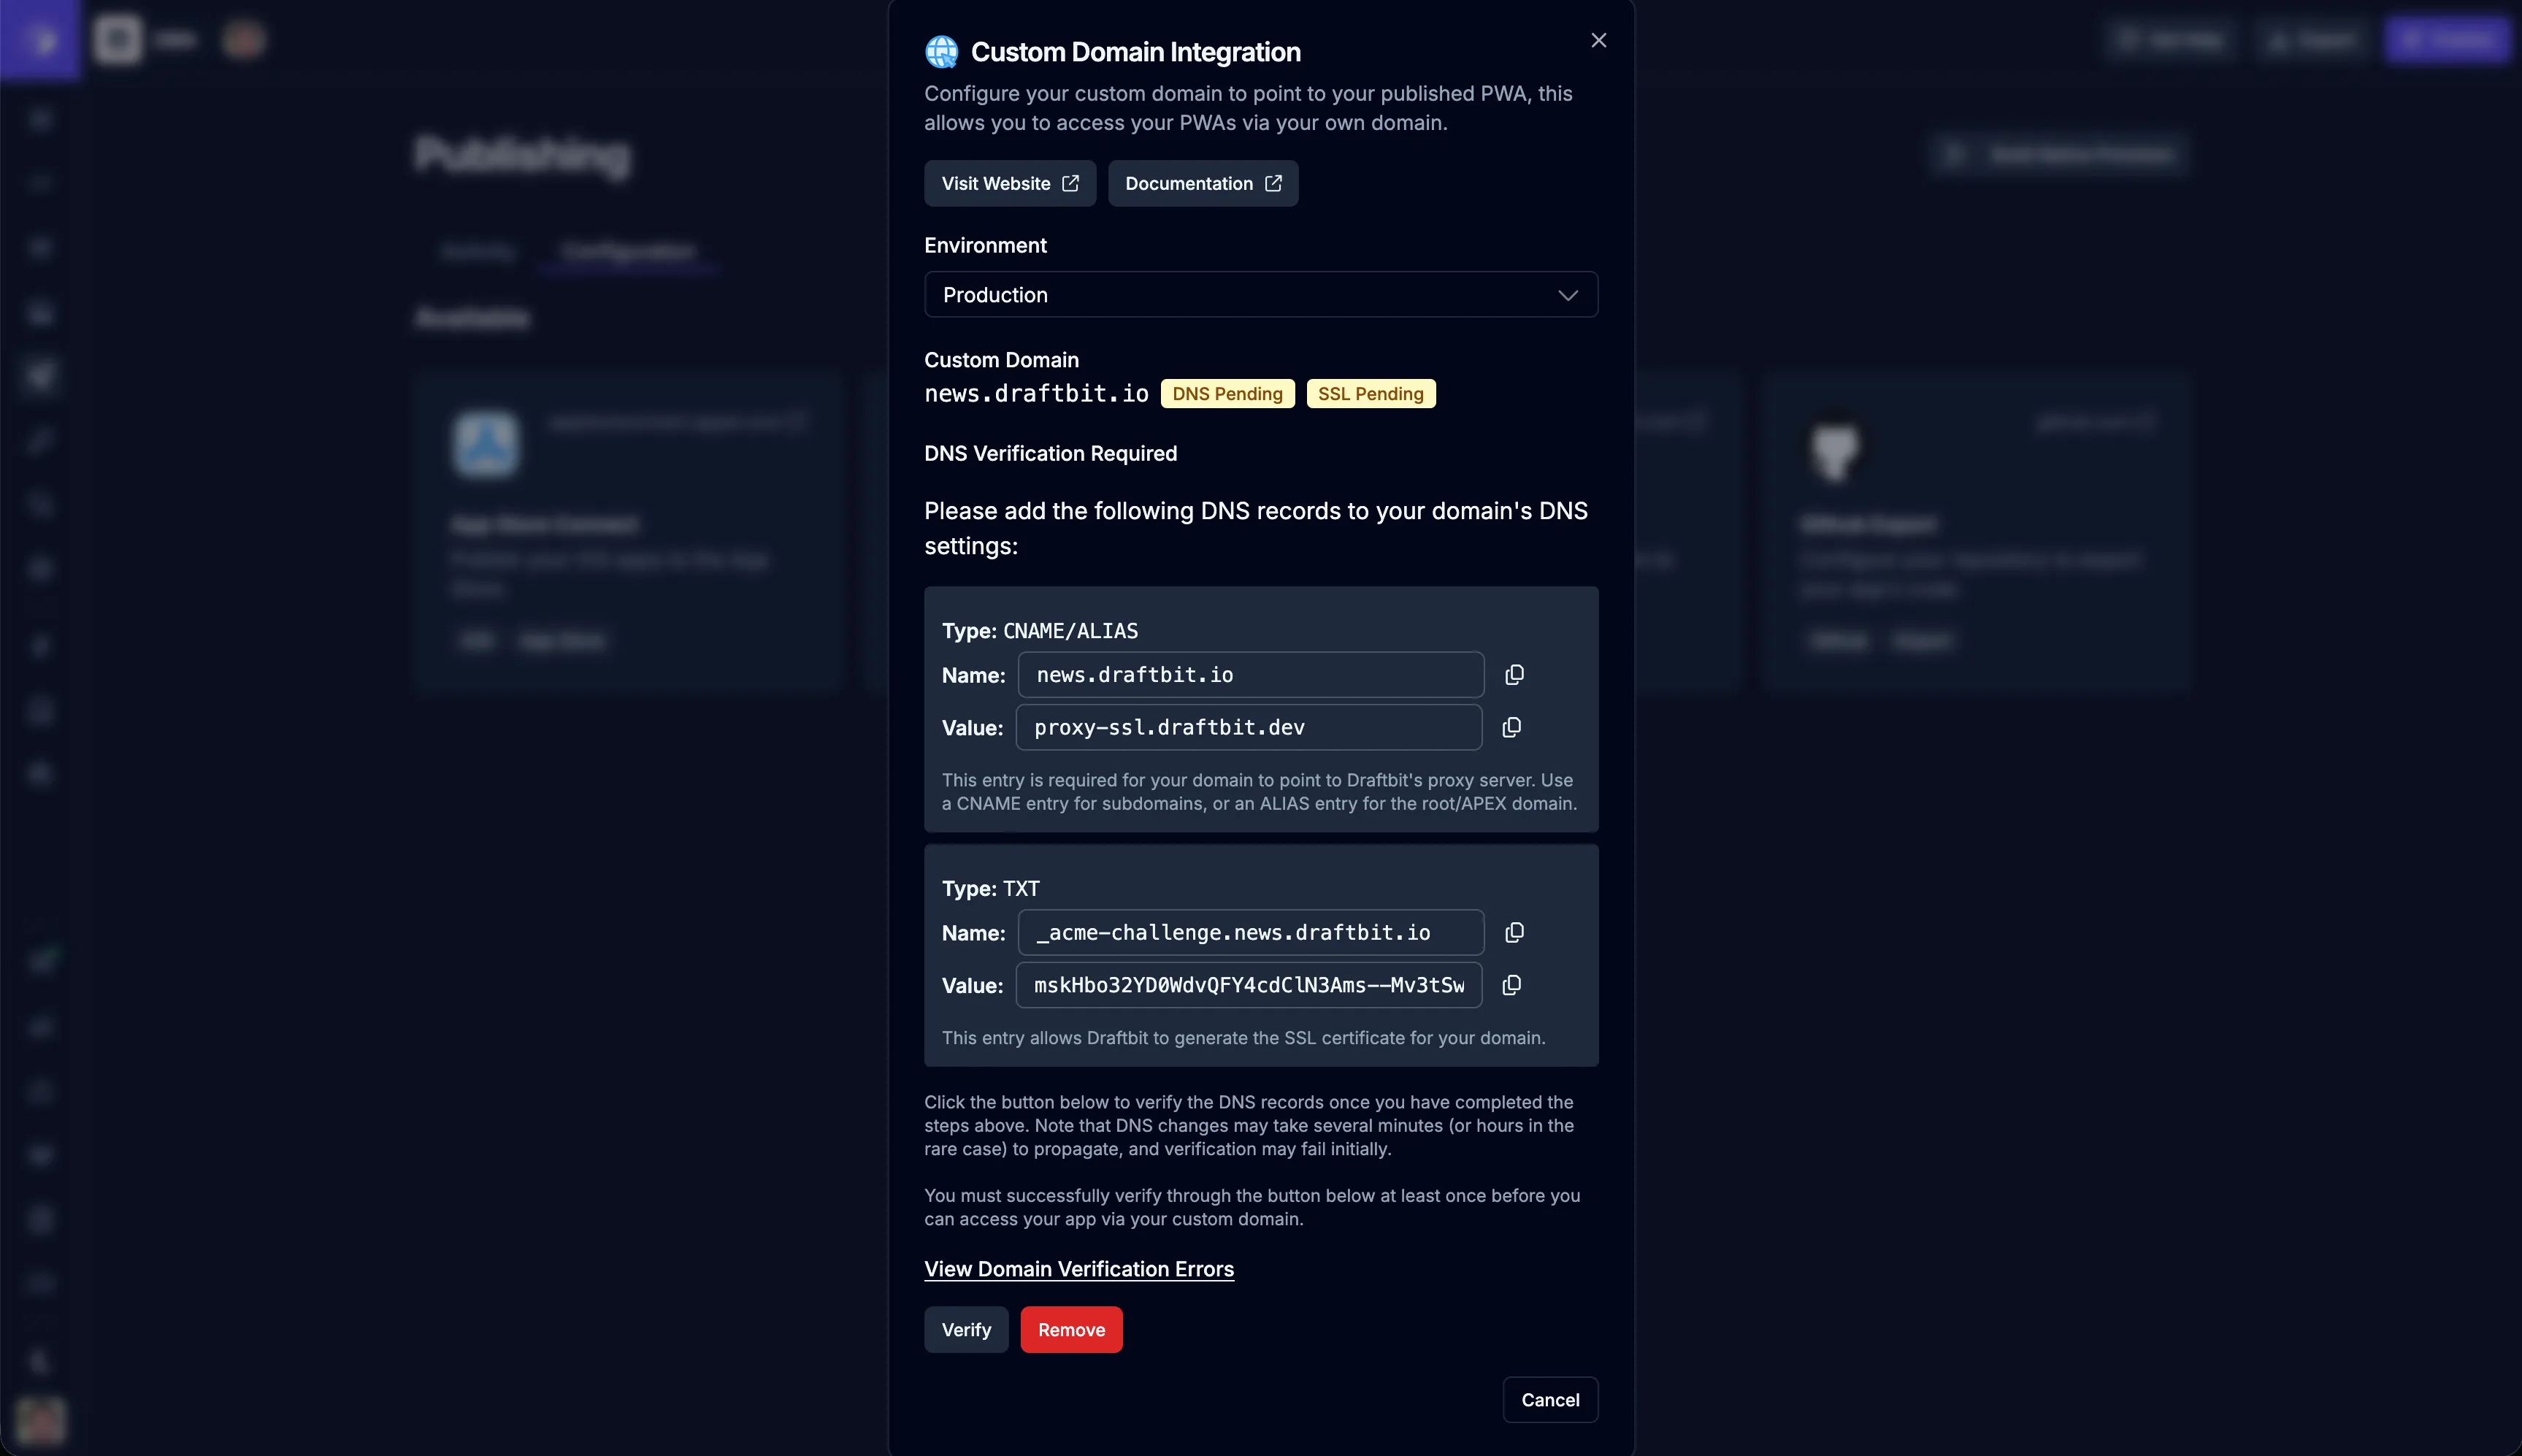
| Name | Description |
|---|---|
| CNAME/ALIAS Record | The CNAME or ALIAS record to add to your domain. This entry is required for your domain to point to Draftbit’s proxy server. Use a CNAME entry for subdomains, or an ALIAS entry for the root/APEX domain. |
| TXT Record | The TXT record to add to your domain. This is used to verify that you own the domain and allows Draftbit to generate the SSL certificate for your domain. |
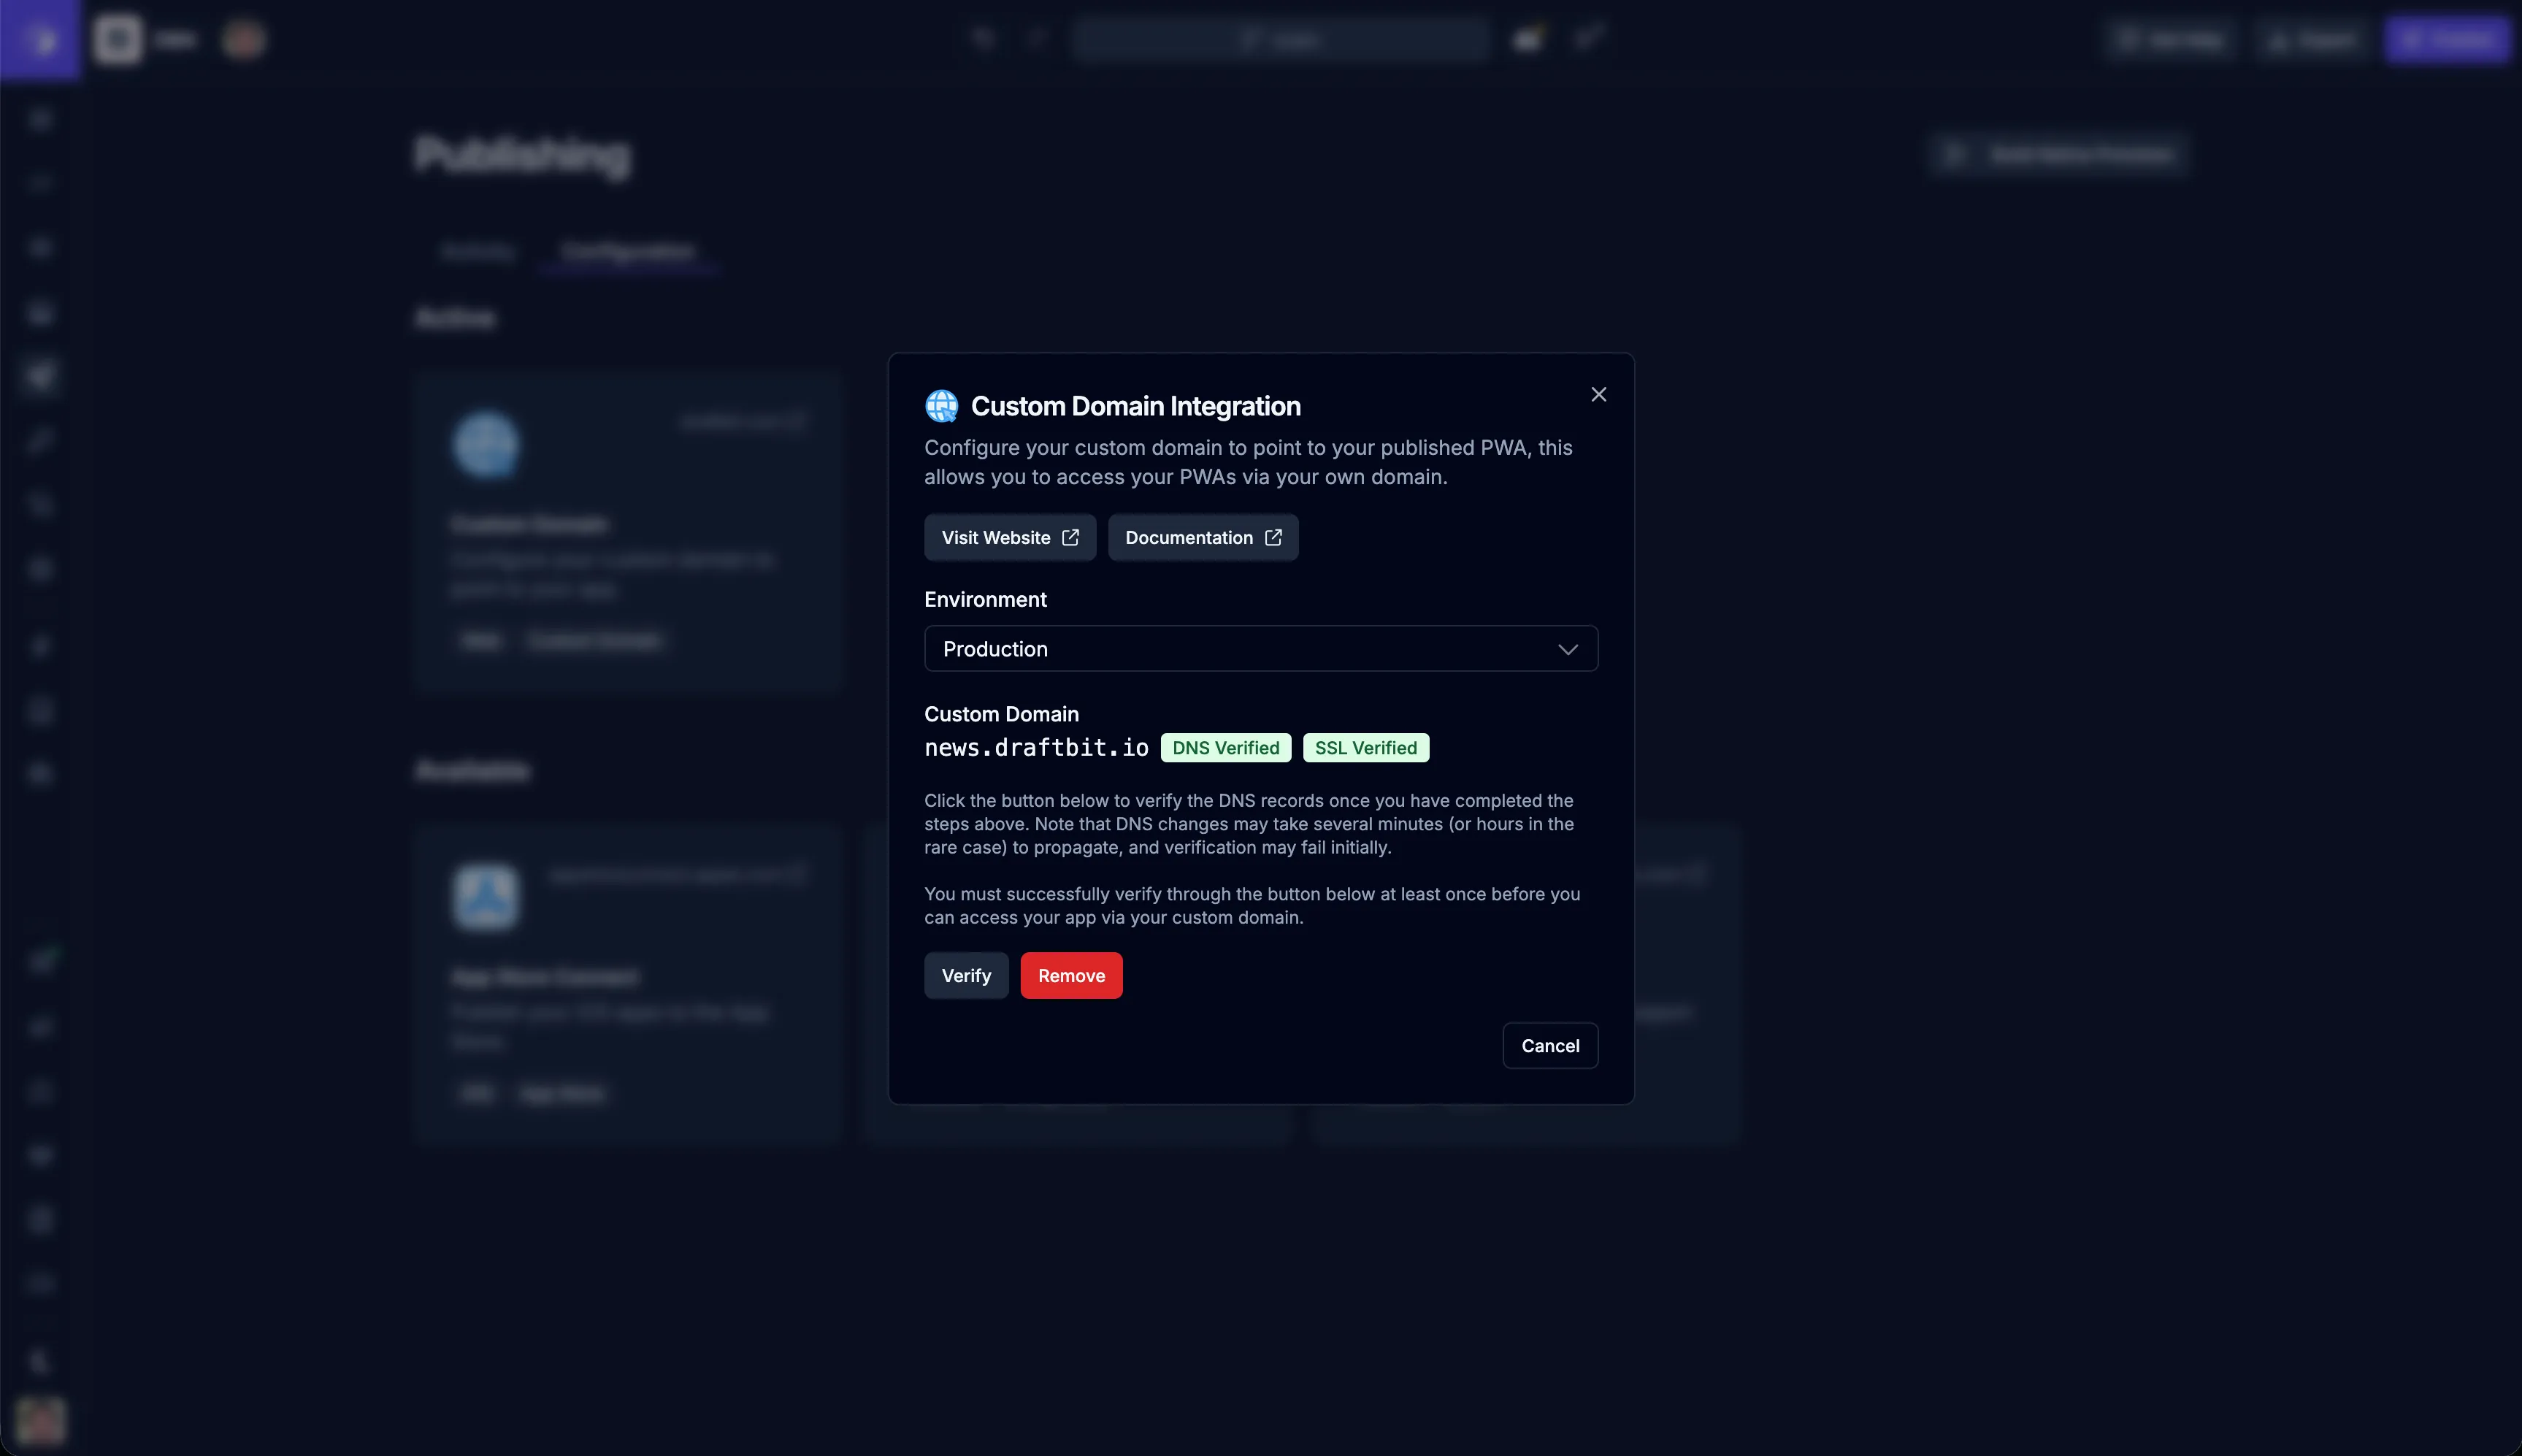
Domain Verification
Section titled “Domain Verification”Once you’ve added the DNS records, you’ll need to verify that you own the domain. This is done by clicking the ![]() button.
button.
When the verification is complete and successful, you’ll see ![]() and
and ![]() badges and the domain will be added to the publishing configuration.
badges and the domain will be added to the publishing configuration.
If for some reason the verification fails, you’ll see an error message and there will be a link to the failure logs. You’ll need to verify the DNS records and try again. If the issue persists, please contact support.
Disconnecting
Section titled “Disconnecting”If you want to disconnect your custom domain, you can do so by clicking the ![]() button from the custom domain configuration modal.
button from the custom domain configuration modal.